

Getting Started with PySpark on Databricks
Start your free 7-days trial now!
Setting up PySpark on Databricks
Databricks is the original creator of Spark and describes themselves as an "open and unified data analytics platform for data engineering, data science, machine learning and analytics." The company adds a layer on top of Cloud providers (Microsoft Azure, AWS, Google Cloud), and manage the Spark cluster on your behalf.
Databricks offers a free tier (community edition) to spin up a node to run some PySpark, and so this is the best way to gain some hands-on experience with PySpark without having to install a Linux OS, which is the environment that Spark typically runs in.
Registering to Databricks
Firstly, head over to the Databricks webpageopen_in_new, and fill out the sign up form to register for the community edition. After receiving a confirmation email from Databricks, click on the "Get started with Community Edition" link at the bottom instead of choosing a cloud provider:

If you click on a cloud provider, Databricks will create a free-trial account instead of a community-edition account. A free-trial account is very different from a community-edition one as you will have to:
set up your own cloud storage on your provider (e.g. Google Cloud Storage)
pay for the resources you consume on your provider
For this reason, we highly recommend to make a community-edition account instead for learning PySpark.
Environment of community edition
The community edition provides you with:
a single cluster with 15GB of storage
a single driver node equipped with 2 CPUs without any worker nodes
notebooks to write some PySpark code
Creating a cluster
We first need to create a cluster to run PySpark. Head over to the Databricks dashboard, and click on "Compute" on the left side bar:
Now, click on the "Create Cluster" button, and enter the desired name for your cluster:
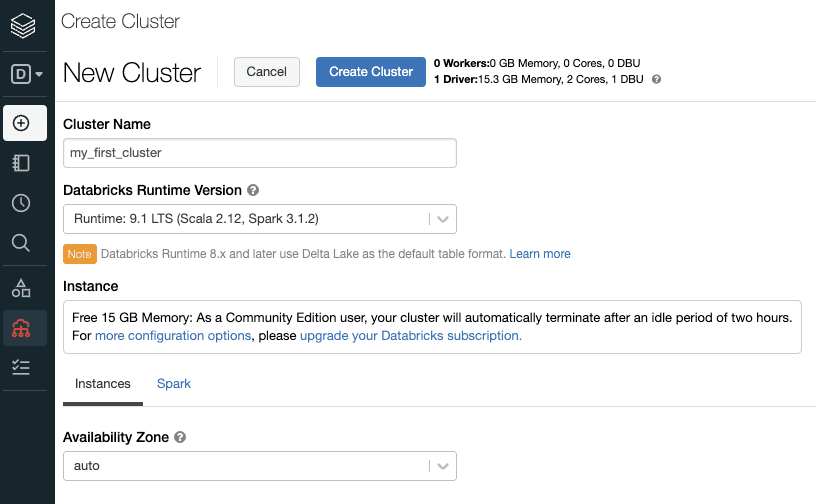
Click on the "Create Cluster" button on the top, and this will spin up a free 15GB cluster consisting of a single driver node without any worker nodes.
The cluster in the community edition will automatically terminate after an idle period of two hours. Terminated clusters cannot be restarted, and so you would have to spin up a new cluster. In order to set up a new cluster with the same configuration as the terminated one, click on the terminated cluster and click the "clone" button on top.
We now need to wait 5 or so minutes until the cluster is set up. When the green pending symbol turns to a green circle, then the cluster is well set up and ready to go!
Creating a notebook
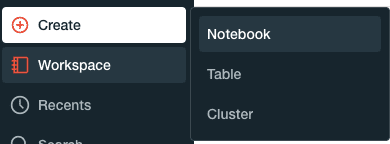
Databricks uses notebooks (similar to JupyterLab) to run PySpark code. To create a new notebook, click on the following in the left side bar:
Type in the desired name of the notebook, and select the cluster that we created in the previous step:
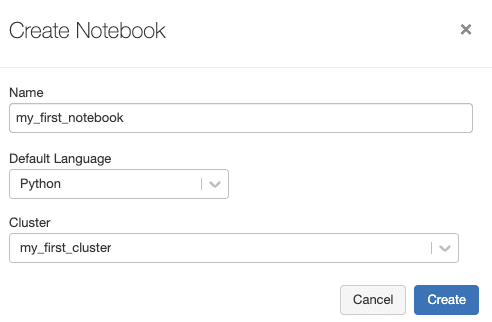
The code that we write in this notebook will be in Python, and will be run on the cluster earlier.
Running our first PySpark code
Now that we have our cluster and notebook set up, we can finally run some PySpark code.
To create a PySpark DataFrame:
                    columns = ["name", "age"]data = [("Alex", 15), ("Bob", 20), ("Cathy", 25)]df = spark.createDataFrame(data, columns)df.show()


            +-----+---+| name|age|+-----+---+| Alex| 15||  Bob| 20||Cathy| 25|+-----+---+